 how-to
What Should You Do After a Home Renovation?
Last Updated: November 2, 2026
Quick Summary
After a home renovation, build a punch list of unfinished or damaged items, confirm the final inspection is approved, and clean the space once the work is done. Then gather closeout documents, especially signed lien waivers, and set up a maintenance schedule for the first six months.
- Walk each room with a punch list and photograph every open item before the final walkthrough.
- Hold back the final payment until every punch list item is complete or has a written completion date.
- Confirm the final inspection has passed and keep the approval documents for your records.
- Collect signed lien waivers from every subcontractor and supplier, not just the general contractor.
- Register appliances and warranties promptly, since many manufacturers require registration within a set window.
Table of Contents
- Why the Steps After a Renovation Matter as Much as the Build
- Build Your Home Renovation Punch List Before the Walkthrough
- Schedule the Home Renovation Final Inspection
- Cleaning Steps After Major Renovation Work
- Gather Your Home Renovation Project Closeout Documents
- Set Up a Maintenance Schedule and Handle Taxes on Improvements
- Book Your Post-Renovation Review With Dimensions Luxury Builders
- Frequently Asked Questions
Why the Steps After a Renovation Matter as Much as the Build
Finishing the build feels like the hard part. For most homeowners, the work after the final tradesperson leaves decides whether the project really delivers.
A kitchen can look flawless on the walkthrough day and still hide a loose fixture, an unregistered appliance warranty or a missing permit record.
This guide walks through the steps that matter most once the dust settles:
- Building and tracking a punch list before the final walkthrough
- Scheduling the final inspection
- Cleaning up after major renovation work
Each step builds on the last, so work through them in order.
Build Your Home Renovation Punch List Before the Walkthrough
A punch list is a written record of everything that is incomplete, damaged or not quite right.
Walk each room slowly with a notepad or a shared checklist app. Look for:
- Paint touch-ups, scuffs and uneven edges
- Doors that stick, latch poorly or sit out of level
- Cabinet doors and drawers that do not align
Take a photo of each item and note the room and location. Clear photos save arguments later.
Tip: Walk the space at two different times of day. Natural light and lamp light reveal different flaws.
Watch out: Do not sign off on the final payment until the punch list is complete or has a written completion date for each open item.
How to Track and Verify Each Punch List Item
A punch list only works if every item gets closed. Assign each entry a status: open, in progress or verified.
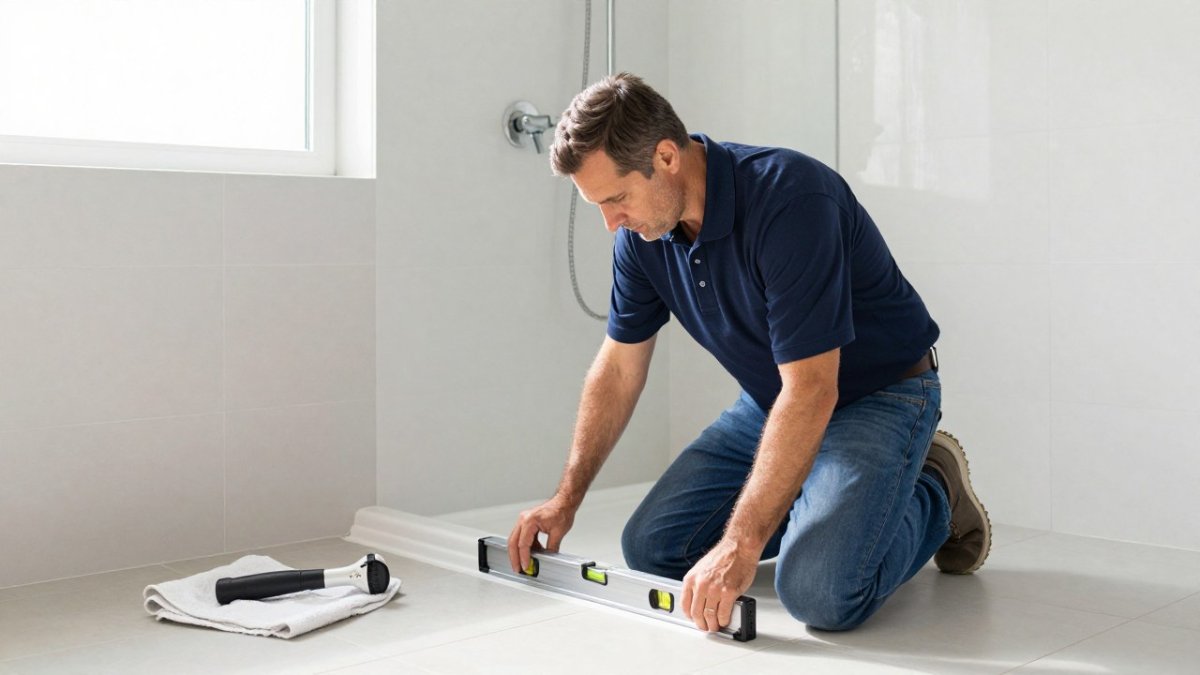
Once the contractor reports an item fixed, check it yourself. Test the drawer, run the faucet, flip the switch.
Keep the list in one place, such as a shared spreadsheet, so both you and the project team see the same version.
Schedule the Home Renovation Final Inspection
Many renovations require a final inspection by the local building department before the work is considered complete. Our guide to navigating building permits explains how the process works in Broward County.
Ask your contractor to confirm which inspections the permit requires. Common final inspections cover electrical, plumbing, mechanical and building work.
Book the inspection only after the work is ready. A failed inspection usually means a return visit and a delay.
Watch out: Do not assume the contractor scheduled the inspection.
Keep the inspection report and any approval documents. You will need them for the closeout package and for insurance or resale.
Cleaning Steps After Major Renovation Work
Renovation dust gets everywhere. Fine drywall dust can settle into vents, cabinets and light fixtures, so cleaning takes more than a quick sweep.

A practical order helps:
- Remove debris and packaging from the site first
- Vacuum ceilings, walls and vents, then work down to floors
- Wipe cabinets, shelves and window sills with a damp cloth
Use a HEPA-filter vacuum when you can. If you are planning new surfaces, browse Jarlin Cabinetry finishes to see how different colors and styles hold up to cleaning.
Some materials need extra care. Check the manufacturer's cleaning instructions for stone, engineered surfaces and finishes before using harsh products.
Hazardous materials need a different approach. Old paint, adhesives, solvents and fluorescent bulbs should not go in the regular trash.
Gather Your Home Renovation Project Closeout Documents
Closeout documents are the paper trail that proves what was built, who built it, whether it was approved, and who still has a legal claim against your property. Collect them before the final invoice is paid, because your leverage disappears the moment the last check clears.
Keep one dedicated folder, digital or physical, organized by category:
- The signed contract and every change order, numbered and dated
- The permit card and all inspection approvals, including the final inspection sign-off
- Lien waivers from every subcontractor and supplier who worked on the job
Lien Waivers: The Document Most Homeowners Skip
A lien waiver is a signed statement from a subcontractor or supplier confirming they have been paid and give up the right to file a mechanic's lien against your property.
Ask for two types at closeout:
- Conditional waiver on final payment, signed before you release the last check, effective once the payment clears
- Unconditional waiver on final payment, signed after the payment clears, confirming the debt is fully satisfied
Get a waiver from every trade that touched the job, not just the general contractor. A common pattern is for the electrician, plumber, roofer and drywall sub to each need their own waiver.
Verify the Contractor's License Before You File the Paperwork
Confirm the contractor's license is active and in good standing before you rely on the closeout package for insurance or resale. Contractor license status can usually be checked through your state's licensing board online. Our guide to verifying a contractor license in Florida walks through each step. A lapsed or revoked license can complicate warranty claims and insurance coverage later.
Register Appliances and Warranties on Time
Many manufacturers require product registration within a set window to honor the full warranty. Miss the window and you may be left with a shorter implied warranty or none at all.
For major systems like HVAC, tankless water heaters and impact windows, also ask the installer for the manufacturer's start-up checklist and the date the warranty clock began. That date, not the purchase date, usually controls coverage.
Keep Records That Support Future Tax Treatment
Closeout is also the moment to build the cost-basis file you will need if you ever sell. Qualifying renovation costs may be treated as capital improvements that add to your home's basis, while routine repairs usually are not.
Watch out: Do not accept a single "closeout binder" from the contractor without checking that every lien waiver is signed, every inspection is approved, and every warranty registration confirmation is inside.
Set Up a Maintenance Schedule and Handle Taxes on Improvements
A renovation does not end at the walkthrough. New materials behave differently from the ones they replaced, and the first six months are when most installation defects surface. A written maintenance schedule protects the warranty and catches small problems before they become expensive ones.
The First Six Months: A Post-Renovation Maintenance Checklist
Build the schedule around what was actually installed, not a generic list. A practical cadence looks like this:
- Monthly: check under every sink and around every toilet for slow leaks; look at the base of the water heater for moisture; open and close every new window and door to confirm the hardware still moves freely
- Every three months: clean range hood and bathroom exhaust filters; inspect caulk lines around tubs, sinks and backsplashes for cracking; vacuum the coils on the refrigerator if it was replaced
- Every six months: test GFCI and AFCI outlets with the test button; test smoke and carbon monoxide detectors; inspect grout in new tile for hairline cracks; check the attic and crawlspace for signs of moisture after the first heavy rain season
For impact windows and doors, inspect the seals and hardware once a year, especially after storm season. For new hardwood or engineered flooring, follow the manufacturer's humidity guidance and note any gapping or cupping in the first year, since that is when installation-related claims are easiest to make.
Keep a simple log of what was checked and when. If a warranty claim arises, a dated maintenance record is often the difference between an approved claim and a denied one.
Taxes: Document Improvements Now, Decide Later
The tax question is really a record-keeping question. The IRS generally treats qualifying renovation costs as capital improvements that add to your home's cost basis, which can reduce capital gains when you sell (Publication 523 (2025), Selling Your Home).
Build a cost-basis file as the project closes out:
- Keep every invoice and receipt, labeled by room and by trade
- Note which line items were improvements (new cabinets, added square footage, upgraded systems) versus repairs (patch and paint, a replaced valve)
- Save the permit records, since permitted work is easier to defend as a capital improvement
- Store the file with your closeout documents so it survives a move, refinance or change of tax preparer
A qualified tax professional can tell you how these rules apply to your situation, but the documentation work is yours to do at closeout, not at sale.
Watch out: Do not lump every receipt into one folder without labels.
The maintenance cadence below summarises the checks the article recommends at each interval.
| Interval | Maintenance task | Note |
|---|---|---|
| Monthly | Check under sinks and around toilets for slow leaks | Look for moisture early |
| Monthly | Open and close new windows and doors | Confirm hardware moves freely |
| Every three months | Clean range hood and bathroom exhaust filters | Keeps ventilation working |
| Every three months | Inspect caulk lines around tubs and sinks | Look for cracking |
| Every six months | Test GFCI and AFCI outlets | Use the test button |
| Every six months | Test smoke and carbon monoxide detectors | Check batteries and function |
| Annually | Service the HVAC system | Schedule with a technician |
| Annually | Inspect exterior seals and hurricane shutters | Check after storm season |
Book Your Post-Renovation Review With Dimensions Luxury Builders
Once the punch list is closed and the paperwork is in order, schedule a review.
Dimensions Luxury Builders manages the project from the first design consultation to the final reveal, with one point of contact throughout. Before you commit, read our guide on how to vet home renovation contractors. Explore the full range of high-end renovation services available for your next project.
To start, request a review through our website or ask for a free quote on any follow-up work.
Frequently Asked Questions
How long should I wait before cleaning after renovation work? Clean once the major work and inspections are finished.
Do I need to register my appliances after installation? Often, yes.
Frequently Asked Questions
What should be included on a renovation punch list?
A renovation punch list should cover every item that is incomplete, damaged or not to specification at the final walkthrough. Typical entries include paint touch-ups, cabinet doors that do not align, loose or missing hardware, grout gaps, uneven flooring transitions, caulking that needs redoing, and fixtures that do not operate correctly. Record each item with a photo, a location in the home, and an agreed completion date. Both the homeowner and the contractor should sign the list, and final payment is typically tied to completing it. Keep the list in writing so nothing is lost after the crew leaves.
Should I get a final inspection after a renovation?
Yes. A final inspection by the local building department confirms that completed work meets permit requirements and applicable building codes. For many projects, especially those involving electrical, plumbing, structural or mechanical changes, passing final inspection is required before the work is considered closed. Your contractor should schedule it and attend with you when possible. Ask for the inspection result in writing, and make sure any correction notices are resolved and re-inspected. The approved permit record is one of the closeout documents you should keep.
What documents should I keep after a remodeling project?
Keep the signed contract, change orders, the building permit and final inspection approval, lien waivers from subcontractors and suppliers, itemized invoices and proof of payment, product and appliance warranties, manuals, and any material specifications such as paint colors, tile and fixture model numbers. Store digital copies in a secure cloud folder as well. These records support insurance claims, future resale disclosures, warranty service, and tax reporting for capital improvements.
When should I make the final payment to a remodeling contractor?
Make the final payment only after the punch list is complete, the final inspection has passed, and you have received the closeout documents, including lien waivers. Holding a reasonable final payment until these conditions are met gives you leverage to ensure the work is finished properly. Your contract should spell out the payment schedule and the conditions for release of the final balance.