 how-to
How to Prepare Your Home for Window Installation
Table of Contents
- Confirm Your Installation Plan, Scope, and Schedule
- What to Move Before Window Installation
- Protect Your Floors, Rugs, and Nearby Surfaces
- Provide Clear Access to Windows and Doors
- Window Installation Day Checklist
- How Long Does Window Installation Take
- What to Expect During Window Installation
- What to Do After Installation
- Frequently Asked Questions
Last Updated: October 17, 2026
Confirm Your Installation Plan, Scope, and Schedule
Before your crew arrives, confirm three things with your installer in writing: the arrival date and time, which windows and doors they'll replace, and how long the project will take. Understanding how to prepare your home for window installation starts with this confirmation.
Ask your installer to clarify the scope: old frame removal, debris disposal, landscaping protection. At Dimensions Luxury Builders, we provide a detailed project timeline so homeowners know what to expect.
Confirm parking and clear access to all entry points. In a multi-unit building, notify building management ahead of time.
Create a Day-Of Checklist
Write down the arrival window, installer's phone number, and scope of work. Post it somewhere visible and share it with your household.
What to Move Before Window Installation
Your installer needs unobstructed access to every window and door, so move furniture, décor, and personal items away from the work area at least one day before installation.
Remove Curtains, Blinds, Shades, and Window Treatments
Take down all window coverings, curtains, rods, blinds, shades, and decorative hardware, before the crew arrives, so installers have a clean workspace and your treatments stay undamaged.
Store each treatment safely, label the hardware for reinstallation, and photograph anything you're unsure how to remove.
Leave window frames bare so installers can access the entire perimeter and ensure a proper seal.
Clear Furniture and Belongings from Around Windows
Move furniture, sofas, chairs, tables, beds, dressers, away from every window and door being replaced, pushing it to the room's center or an adjacent space.
Clear the floor and windowsills around each window. The crew needs at least three feet of clearance on all sides.
Move Plants, Outdoor Items, and Landscaping
Move potted plants to another room for the day; installation dust can coat leaves and soil.
Outside, trim back branches and move potted plants at least five feet from exterior walls where work is happening.
Move outdoor furniture, grills, and décor away from the work area so the crew has space for ladders and equipment.
Protect Your Floors, Rugs, and Nearby Surfaces
Installation creates dust, debris, and damage risk. Dust from cutting trim, removing frames, and drilling masonry travels far, so treat protection as a containment system, not a single layer of plastic.
Layer 1: Floor protection
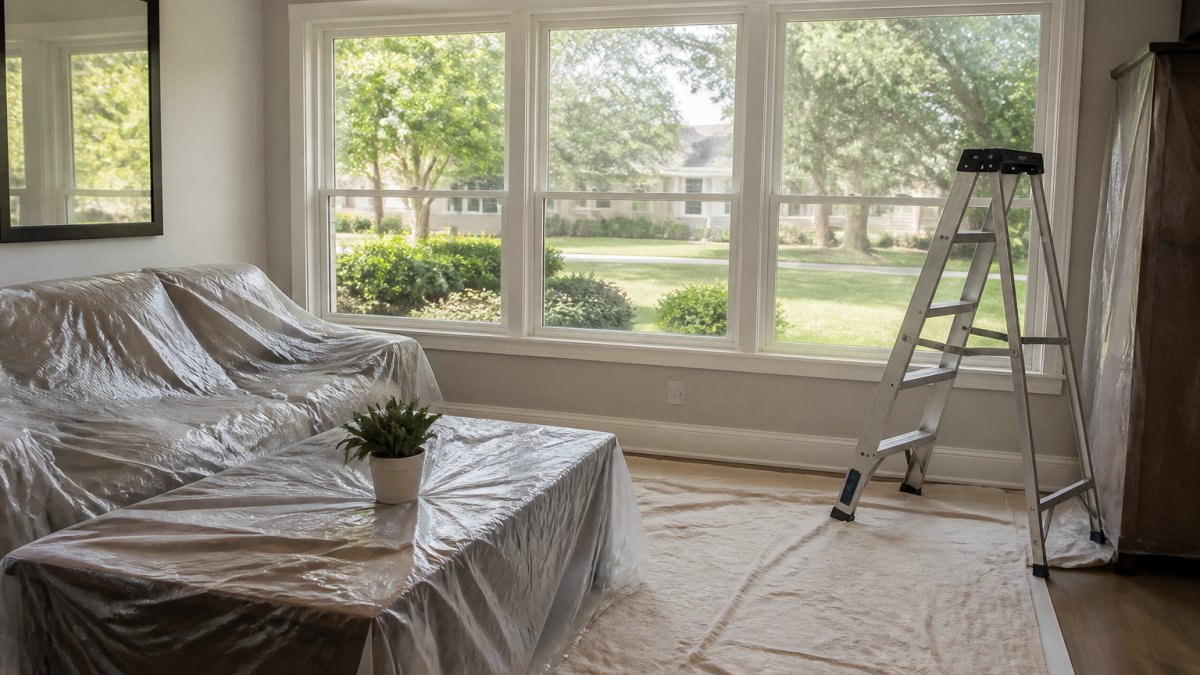
Lay drop cloths or plastic sheeting on floors around each window and door, extending at least six feet from the frame.
For hardwood or tile, add a second layer: canvas drop cloths over plastic.
Tape plastic edges to the baseboard with painter's tape, not duct tape, and overlap seams by at least a foot.
Layer 2: Furniture and surface protection
Cover nearby furniture with plastic sheets or blankets, secured with painter's tape so it doesn't shift.
For upholstered furniture that can't move, slip a plastic drop cloth over it and tuck the edges. Unplug, cover, and if possible remove electronics, dust pulled into a cooling fan is a common cause of post-renovation failure.
Layer 3: Dust containment at the opening
The moment the old frame comes out, the work area and the rest of your home are connected by an open hole. Contain it:
- Zip-wall or zipper door: A plastic barrier with a zippered door taped across the work-room doorway lets the crew pass without leaving it open.
- Negative air machine: Ask whether your installer uses one; if not, a box fan in a window blowing outward pushes dust outside.
- Seal other openings: Tape off HVAC registers and roll a towel under the door if you're not using a zip wall.
Layer 4: HVAC and air-quality protection
Cover air vents and return ducts with plastic and tape to keep dust out of your HVAC system, where it reduces air quality and strains equipment.
Change your HVAC filter after the project, not during. If anyone has asthma or allergies, use a higher-MERV filter for that first change, then return to your normal filter.
Layer 5: Protecting what dust damages most
Some belongings are disproportionately harmed by construction dust:
- Computers and electronics: Dust clogs fans and heatsinks. Cover and, if possible, remove them.
- Musical instruments: Sensitive to dust and humidity swings. Move them out and keep cases closed.
- Artwork and photographs: Cover framed pieces with plastic.
Layer 6: Exterior protection
Outside, lay tarps below the work area to catch falling debris, and cover any deck, patio, or walkway directly below the window.
What to have on hand
A small kit makes the day easier:
- Painter's tape (at least two rolls)
- Plastic sheeting (4 mil or thicker)
- Canvas drop cloths
Provide Clear Access to Windows and Doors
Clear entryways of clutter, shoes, coats, bags, and anything else near doors.
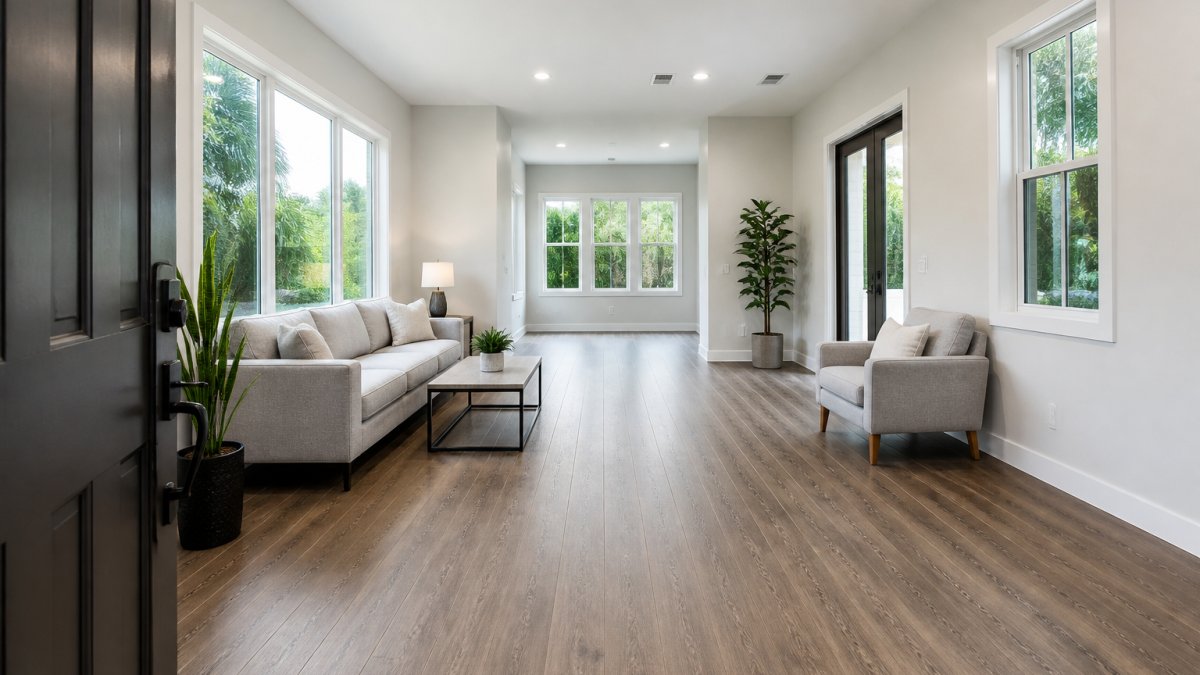
Remove obstacles from hallways leading to windows.
Outside, clear your driveway and walkways of trash cans, garden hoses, toys, and anything else on the path.
Check for low-hanging branches or power lines near windows.
Window Installation Day Checklist
The day has arrived. Most guides stop at "keep pets and kids away and stay home." That's the minimum. A smoother installation day comes from planning around the people, routines, and security needs specific to your household. Use this checklist the night before and the morning of.
The night-before checklist
- Confirm the arrival window and the crew lead's phone number in writing.
- Walk every room that will be worked on and confirm furniture is at least three feet from each opening.
- Set out drop cloths, painter's tape, and plastic sheeting so you're not hunting for them at 7 a.m.
Prepare pets and children
Pets and young children can get in the way or become stressed by noise and activity.
Set up a comfortable space for pets with water, food, and toys.
If you have young children at home, arrange childcare if possible.
If children stay home, keep them away from the work area.
Plan for accessibility and special household needs
If anyone in the home uses a wheelchair, walker, or cane, confirm before installation day that the primary path to a bathroom, bedroom, and kitchen will stay clear.
For household members sensitive to noise or dust, including older adults, infants, and people with asthma or allergies, set up a designated clean room on the opposite side of the home.
Work-from-home and remote-work arrangements
If you work from home, don't plan on taking calls in a room adjacent to active installation. Pry bars, hammers, and compressors are loud enough to be picked up on a headset microphone. Options that work:
- Book a coworking space or a library room for the noisiest day.
- Schedule installation for a day you're already out of the house.
- Ask the crew to sequence work so the room you need is done first or last, and take your calls elsewhere during that window.
Plan to be home and available
Stay home during the entire installation. The crew needs access to interior spaces, and questions always come up.
Be available to answer questions about the installation plan.
Keep your phone nearby.
Prepare a workspace for the crew. Offer them a place to set tools, take breaks, or use the restroom.
Security while openings are exposed
During installation, at least one opening per room will be temporarily open to the outside. That's normal, but it's also a window of opportunity you should plan around.
- Tell your alarm company if you have one. Motion sensors near work areas may trigger false alarms, and door/window contacts will read as open. Ask for a temporary bypass or a note on the account.
- Move valuables, cash, and small electronics out of work rooms before the crew arrives.
- Keep exterior doors locked when the crew isn't actively moving materials through them.
Mark windows that are not being replaced
If only some windows are being replaced, label the ones that are staying. A strip of painter's tape on the glass with a handwritten "KEEP" is enough. This prevents a crew member from removing trim or hardware from a window that isn't in scope, a mistake that's expensive to reverse.
Confirm the day-of communication plan
Ask the crew lead how they'll communicate with you during the day, text, phone call, or in person. Confirm who to contact if a problem arises and how to reach the project manager if the crew lead is unavailable. Write the name and number on your day-of checklist and keep it where you can see it.
How Long Does Window Installation Take
The duration depends on how many windows and doors you're replacing and the complexity of your home.
A typical single window takes 30 minutes to one hour.
Your installer should provide a time estimate during the planning phase.
Plan for the installation to take longer than you think.
What to Expect During Window Installation
Understanding how to prepare your home for window installation reduces stress and helps you prepare properly.
The crew will start by removing old window frames and hardware. This creates dust and debris.
Next, they'll inspect the opening for damage or rot.
Finally, they'll install the sash, hardware, and any trim work.
Throughout the process, windows and doors will be open.
What to Do After Installation
Once the crew leaves, your work isn't finished.
Inspect every window and door.
Document the installation with photos.
Ask the crew about caulking and weatherproofing.
Clean up thoroughly. Dust settles on surfaces throughout your home.
Review your warranty documentation. Understand what's covered and for how long.
Frequently Asked Questions
How should I prepare my house for replacement windows?
Start by confirming your installation plan and timeline with your window installation crew. Remove all window treatments like curtains and blinds. Clear furniture and belongings at least 3 feet away from each window. Protect your floors and nearby surfaces with drop cloths or plastic sheeting. Move potted plants and outdoor items away from exterior work areas. Ensure the installation technicians have a clear path to your windows and doors from their vehicles. Prepare pets and children by securing them in a separate room during the installation day. Finally, plan to be home and available throughout the installation process to answer questions and provide access.
What should I move away from windows before installation?
Remove all window treatments including curtains, blinds, shades, and valances. Move furniture, side tables, lamps, and decorative items at least 3 feet away from the windows. Relocate potted plants, planters, and outdoor items from both interior spaces near windows and exterior work areas. If you have valuable items on windowsills or nearby shelves, store them safely in another room. Clear any rugs or area rugs that are close to the windows. This clearing creates workspace for the installation crew and protects your belongings from dust and potential damage during the window replacement process.
How long does window installation take?
The installation timeline depends on the number of windows, their size, and the complexity of your project. Typically, a single window takes 30 minutes to 2 hours to install. A full home window replacement with multiple windows usually takes 1 to 3 days. Your installation plan should specify the exact arrival time and estimated completion time. Factors that affect duration include whether your windows and doors require special framing adjustments, weather conditions, and the experience level of your installation technicians. Confirm the timeline with your contractor before installation day so you can plan accordingly.
Should I stay home during window installation?
Yes, you should plan to be home and available during the entire installation day. The installation crew may need to ask questions about your preferences, access to specific areas, or details about your home's layout. Your presence allows you to address any unexpected issues immediately and ensures the work meets your expectations. Be prepared to provide access to interior spaces, basements, or attics if needed. Having the homeowner available also helps the installation technicians work more efficiently and gives you the opportunity to inspect the work as it progresses.
Ready to upgrade your home with professional window installation? Get a free quote from Dimensions Luxury Builders and let our local experts handle every detail of your project. From impact-rated windows to complete installation and warranty support, we manage your renovation from start to finish.