 how-to
Preventing Leaks in Impact Windows: A Complete Guide
Table of Contents
- Understanding Why Impact Windows Leak
- Impact Window Installation Best Practices
- Signs of Water Intrusion in Windows
- Impact Window Maintenance Checklist
- Step-by-Step Leak Prevention Process
- Long-Term Protection: Salt Air and Climate Factors
- Conclusion
Last Updated: August 26, 2026
Understanding Why Impact Windows Leak
Water intrusion in impact windows stems from installation mistakes, environmental pressure, and maintenance neglect, not from the glass itself. The real problem lives in flashing, sealants, weep holes, and frame assembly. Wind-driven rain strikes windows at angles, driven by pressure differentials that push water horizontally into every gap and joint. A properly installed impact window resists this assault; a poorly installed one becomes a conduit.
Common causes of water intrusion
Installation shortcuts and inadequate flashing rank as the primary culprits. Flashing must extend beyond the window frame opening to direct water safely away from the building envelope. When flashing is cut too short or sealed with the wrong material, water penetrates directly into your home.
Sealant failures rank equally high. Exterior-grade silicone degrades under UV light and thermal expansion cycles (peer-reviewed research). After five years, sealant may lose elasticity and pull away from the frame. Interior-grade caulk, a budget shortcut, fails within months.
Weep holes are intentionally designed drainage pathways at the bottom of window frames. When blocked by debris or paint, water accumulates inside the frame cavity instead of draining outward. This standing water eventually migrates into the wall structure.
Frame seal deterioration happens gradually as gaskets and weatherstripping compress over time. Thermal expansion and contraction cycles stress joint sealants, creating tiny gaps that water exploits.
How wind-driven rain and pressure affect seals
During heavy storms, wind pressure forces water upward and sideways into crevices. This pressure also creates a vacuum effect on the leeward side, pulling moisture inward through any opening. A 100 mph wind creates forces that exploit every installation weakness simultaneously (fema.gov).
Thermal expansion compounds the problem. On hot days, aluminum frames expand; at night or during storms, they contract. After thousands of expansion-contraction cycles, sealant bonds fail. The window itself may be sound, but the installation envelope has compromised.
Impact Window Installation Best Practices
Preventing leaks depends almost entirely on installation quality. The window frame is only as effective as the barrier system surrounding it. Proper installation requires meticulous attention to flashing, drainage, and sealant application.
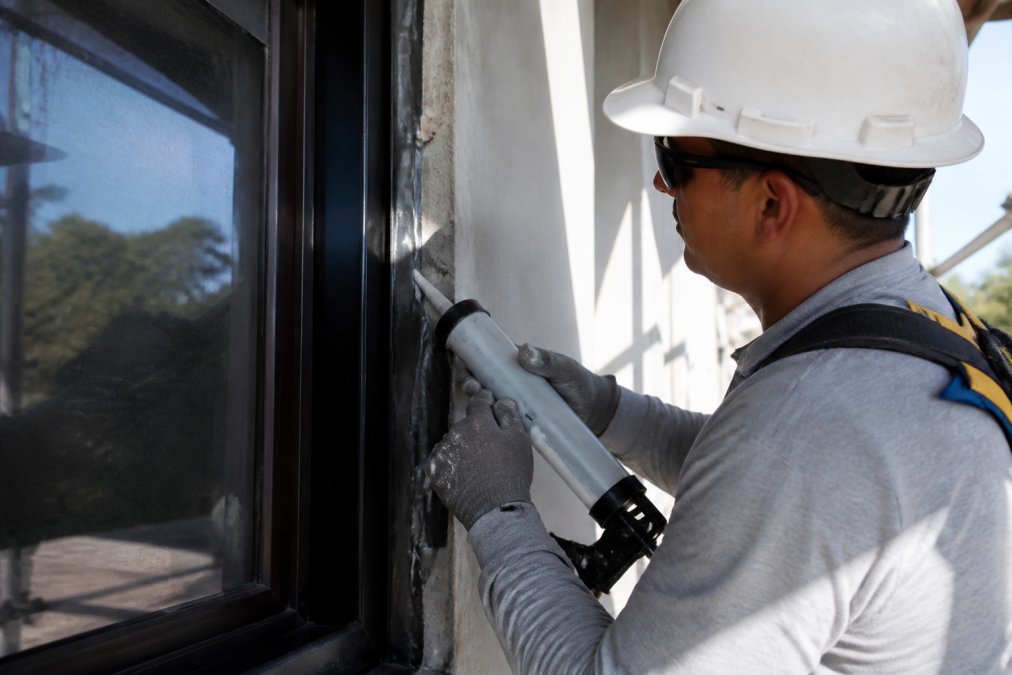
Proper flashing installation and details
Head flashing, installed above the window, must extend at least 2 inches beyond the window frame on each side and slope slightly outward to shed water away (nfpa.org). Side flashing should overlap the head flashing and extend down to the sill, creating a cascade effect that directs water safely away from the frame.
Flashing must extend into the wall cavity by at least 1 inch, creating a barrier between the window opening and the building envelope. Sill flashing requires a minimum 2-degree outward slope to prevent water pooling. A flat or inward-sloping sill becomes a reservoir where pressure builds and penetration becomes inevitable.
Weep hole placement and drainage systems
Weep holes (typically 1/4 inch diameter) at the bottom of the window frame allow trapped water to drain outward. Proper placement means spacing them 16-24 inches apart, with at least one at each corner. The drainage system behind the window must slope toward weep holes so water has a path to exit.
Without a proper drainage plane, water accumulates in the frame cavity and migrates into the wall structure through fasteners, gaps, or insulation. Weep holes must remain clear of caulk, paint, or debris and should be inspected annually.
Sealant selection and application
Exterior-grade silicone is the standard for impact window installations because it maintains elasticity through temperature cycles and resists UV degradation. Acrylic caulk hardens and cracks within years; polyurethane requires careful application.
The sealant application technique matters as much as product choice. The joint should be cleaned and dried before application. Sealant should fill the entire gap between frame and wall with a slightly concave (recessed) bead, not convex. Application should occur at temperatures between 50°F and 85°F for optimal curing. Proper sealant curing takes 24-48 hours before water exposure.
Signs of Water Intrusion in Windows
Detecting water intrusion early prevents structural damage and mold growth. Some indicators appear inside your home; others require inspection of the frame and surrounding wall.
Early warning indicators
Discoloration on the wall or trim around the window is the most obvious sign. Water staining appears as dark streaks or patches, often starting at the top and running downward. Interior paint bubbling or peeling indicates moisture behind drywall.
Soft or spongy drywall around the window is a red flag. Press gently on the wall around the frame; if it feels soft or flexes abnormally, water has saturated the drywall and insulation. Mold growth inside or around the window frame, black or green spots on the frame, sill, or surrounding surfaces, means moisture has been present for weeks or months.
Diagnosing glass failure versus frame failure
If water enters through the glass itself, the insulated glass unit (IGU) has failed. You'll see condensation or fogging between the panes that cannot be wiped away. The IGU must be replaced.
Frame failure is more common. Water entering through the frame-to-wall connection shows up as moisture inside the wall cavity, staining around the frame exterior, or water pooling on the interior sill. Inspect the exterior flashing, sealant condition, and weep hole status. Use a moisture meter to check for moisture in the wall cavity; readings above 15-20% indicate active moisture problems.
| Problem | Location | Visible Signs | Solution |
|---|---|---|---|
| Glass seal failure | Between panes | Condensation/fogging inside glass | Replace IGU |
| Frame sealant failure | Frame-to-wall joint | Exterior staining, interior moisture | Reseal and replace sealant |
| Flashing failure | Above/beside window | Water staining on wall above window | Install/repair flashing |
| Weep hole blockage | Bottom of frame | Water pooling on interior sill | Clean weep holes |
| Gasket deterioration | Frame perimeter | Visible cracks or separation | Replace weatherstripping |
Impact Window Maintenance Checklist
Preventing leaks is an ongoing process. Regular maintenance catches problems early and extends window lifespan.
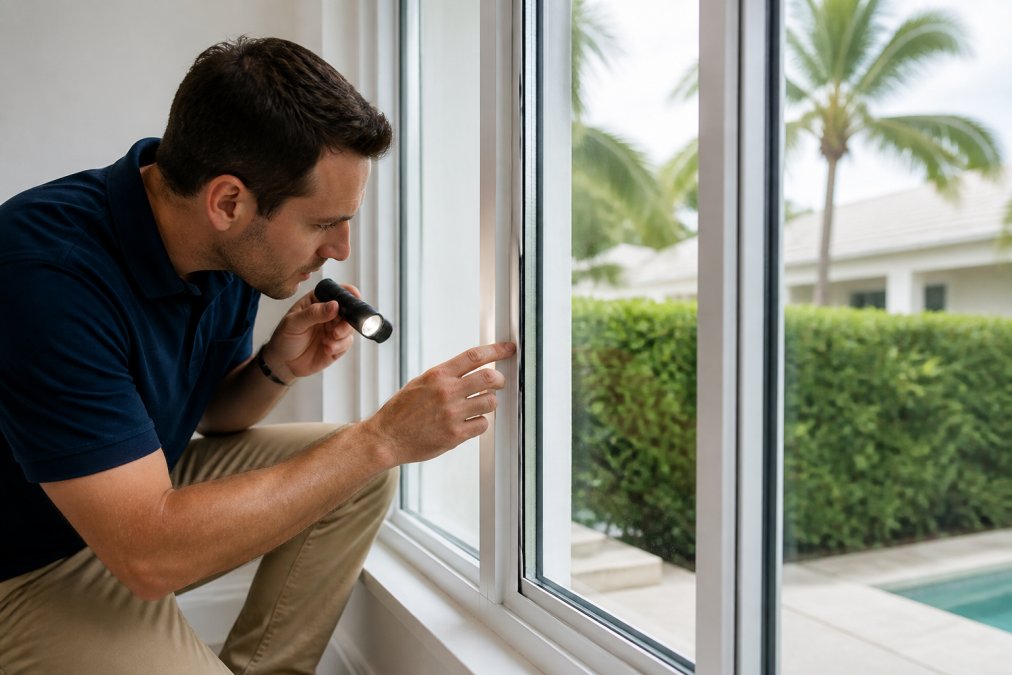
Regular inspection schedule
Inspect windows quarterly at minimum, twice annually (spring and fall). Check exterior sealant for cracks or separation, gaps where the frame meets the wall, flashing for rust or damage, and weep holes for debris or caulk blockage.
Interior inspection should include checking for water stains, discoloration, or soft spots around the frame. Check gaskets and weatherstripping for visible cracks or compression. After severe storms, conduct an immediate post-storm inspection. Saltwater exposure (near coastal areas) requires quarterly inspections because salt accelerates sealant degradation.
Weatherstripping and gasket care
Weatherstripping and gaskets compress over time, losing seal effectiveness. Inspect for visible cracks, brittleness, or permanent compression marks. If they no longer return to their original shape, they need replacement. Most weatherstripping can be replaced without removing the window.
When replacing weatherstripping, clean the channel thoroughly and remove old adhesive residue completely. Apply new weatherstripping designed for your specific window frame type. Gasket replacement typically requires professional service because the glass must be removed.
Sealant maintenance and reapplication
Inspect exterior sealant annually for cracks, separation, or deterioration. If cracks are wider than 1/8 inch or spreading, reseal immediately. To reseal, remove old sealant with a utility knife, clean the joint with a wire brush, and allow it to dry completely. Apply new exterior-grade silicone using a caulking gun, maintaining a slightly concave profile. Allow 48 hours for curing.
Preventive resealing every 5-7 years is standard maintenance. The time investment is minimal, and cost savings compared to water damage repairs are enormous.
Step-by-Step Leak Prevention Process
A systematic approach ensures nothing is overlooked during installation or retrofitting.
Pre-installation preparation
Inspect the opening and remove old windows and deteriorated flashing. Clean the opening cavity thoroughly. Check that the opening is square using a level and measuring diagonals. Prepare flashing materials with adequate overlap at corners and edges. Have exterior-grade silicone, weatherstripping, and fasteners on hand.
Inspect the wall around the opening for existing water damage, rot, or structural issues. Address these before installing the new window.
Installation verification checklist
- Window is level and plumb
- Flashing is installed with proper overlap (2+ inches beyond frame)
- Sill slopes outward at minimum 2-degree angle
- Head flashing extends above the window opening
- Side flashing overlaps head and sill flashing
- Weep holes are clear and properly spaced (16-24 inches apart)
- Exterior-grade silicone is applied to all frame-to-wall joints
- Sealant bead is concave and fills the entire joint
- Weatherstripping is compressed evenly when window is closed
- No gaps visible around frame perimeter
- Window operates smoothly without binding
Address any failed items before moving forward.
Post-installation testing and cleanup
Conduct a water test before considering the job complete. Using a garden hose on low pressure, spray water around all sides of the window frame, beginning at the bottom and working upward. Watch the interior for any water entry. If water appears, identify the source immediately and reseal.
Allow sealant to cure fully (24-48 hours) before subjecting the window to heavy rain or pressure washing. Document the installation with photos of completed work, flashing details, and sealant application for future reference.
Long-Term Protection: Salt Air and Climate Factors
Coastal environments accelerate sealant degradation. If your home is within 1 mile of saltwater, expect sealant to require reapplication every 3-4 years instead of the typical 5-7 year interval. UV light exposure and thermal expansion cycles in regions with large temperature swings also stress sealant bonds more severely.
Regular freshwater rinsing helps remove salt residue from frames and sealants. Monthly rinsing during warm months extends sealant life significantly.
Water intrusion in impact windows is preventable. The challenge isn't the windows themselves, it's ensuring installation meets standards and maintenance stays consistent. Proper flashing, high-quality sealants, and regular maintenance eliminate water problems. When you're ready to upgrade your windows or address existing leaks, get a free quote from our team and let us handle the details. We'll ensure your windows protect your home for decades.
Frequently Asked Questions
How do you stop windows from leaking in heavy rain?
Preventing leaks in impact windows during heavy rain requires three key actions: ensure proper installation with correct flashing and weep holes, apply exterior-grade silicone sealant around all joints, and maintain weatherstripping and gaskets. Check that your window sill is properly sloped to direct water away, and verify weep holes are clear of debris. If leaks occur despite these measures, have a professional inspect for frame seal failure or installation defects.
What type of sealant can I use to stop my windows from leaking?
Use exterior-grade silicone sealants specifically formulated for window installation, these resist UV light, thermal expansion, and moisture better than standard caulking. Ensure sealant compatibility with your window frame material (aluminum, vinyl, or composite). Apply sealant to all exterior joints and where the frame meets the building envelope. Avoid interior-only sealants, as they trap moisture. Reapply sealant every 5-7 years or when visible cracks appear.
How often should impact window seals be inspected?
Inspect impact window seals at least twice yearly, spring and fall, and after severe storms. Look for visible cracks in sealant, deteriorated weatherstripping, or moisture inside the glass. In coastal areas with salt air exposure, increase inspections to quarterly. Check weep holes for blockages monthly. Professional inspections should occur every 2-3 years to catch early signs of water intrusion before they cause structural damage.
Why are my new impact windows leaking during storms?
New window leaks typically stem from installation errors: improper flashing, missing or misplaced weep holes, inadequate sealant application, or poor drainage system design. Wind-driven rain at high pressure can penetrate gaps in the frame seal or joint sealant. Have a professional inspect the installation against building codes and manufacturer specifications. Common fixes include resealing joints, clearing drainage paths, or reinstalling flashing. Proper installation is critical, poor workmanship is the leading cause of leak failure in impact windows.
This article was written using GrandRanker