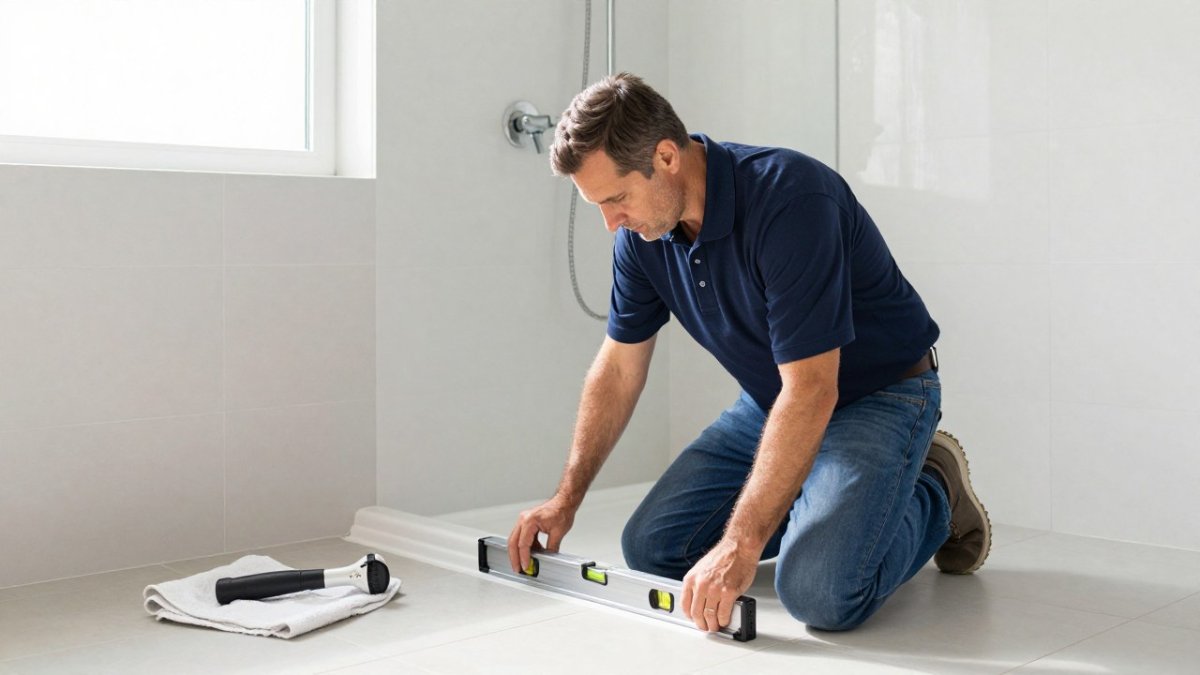
 how-to
How Do You Evaluate Quality Control in Luxury Home Construction?
Last Updated: October 26, 2026
Quick Summary
Evaluate quality control in luxury home construction by building a written checklist before work starts, then inspecting each stage against measurable acceptance criteria at defined hold points. Grade every defect as critical, major, minor, or observation, and verify each correction against the same tolerance before sign-off.
- Quality assurance is the plan that prevents defects; quality control is the proof that catches them.
- Never let a builder combine hold points, because each next stage hides the last one.
- Water intrusion is always critical, even when the damage looks minor.
- A flood test in wet areas must hold 24 hours with no loss.
- A punch list signed without a re-walk is just a wish list.
Table of Contents
- What Quality Control in Luxury Home Construction Actually Means
- Step 1: Build a Construction Quality Control Checklist Before Work Starts
- Step 2: Review Plans, Specifications, and Material Verification
- Step 3: Map Home Construction Inspection Stages From Foundation to Final
- Step 4: Hold Work to Luxury Home Craftsmanship Standards
- Step 5: Grade Defects and Set Acceptance Standards
- Step 6: Close the Project With a Construction Punch List
- Step 7: Request a Third-Party Quality Review and Documentation File
- Frequently Asked Questions
What Quality Control in Luxury Home Construction Actually Means
Evaluating quality control in luxury home construction is the process of checking that every material, method, and finish meets a written standard before the next stage begins.
Here's the tension most homeowners miss.
Quality control is the inspection and testing work that catches defects. Quality assurance is the planning that stops defects from happening in the first place. Luxury homes need both, and they need them from day one.
Quality Control vs. Quality Assurance
Think of quality assurance as the plan and quality control as the proof. Quality assurance happens before a hammer swings: material specs, sequencing, and who signs off on what. Quality control happens during the build: measuring, testing, and recording results against building code requirements published by the International Code Council.
Step 1: Build a Construction Quality Control Checklist Before Work Starts
A construction quality control checklist is a written list of what "acceptable" means for each part of the job, agreed before demolition begins. Build it with your builder, not after the fact.
Your checklist should cover:
- Material brands, grades, and finish codes, named specifically
- Tolerance limits for tile, trim, and cabinet alignment
- Waterproofing method and flood-test requirement for wet areas
- Who inspects each stage, and who signs off
- Photo and record-keeping expectations
- Corrective action steps when something fails
Step 2: Review Plans, Specifications, and Material Verification
Material verification is the habit of matching what arrives on site to what the plans and specifications promised. You can also browse the premium materials, fixtures, and finishes used on Dimensions Luxury Builders projects. Do it at delivery, every time.
Step 3: Map Home Construction Inspection Stages From Foundation to Final
The core stages, with luxury-specific checks and observable acceptance criteria, look like this:
| Stage | Hold Point | Luxury-Specific Checks | Observable Acceptance Criteria | Sign-Off |
|---|---|---|---|---|
| Site and foundation | Pre-pour | Formwork dimensions, anchor bolt placement, rebar spacing and cover, waterproofing at grade, radon/soil-gas provisions where required | Rebar inspected before concrete; anchor templates match structural drawings; no standing water in forms | Builder + third-party inspector + owner |
| Framing and structural | Pre-close | Beam and header sizing, joist hangers, shear nailing, floor flatness, window and door rough openings | Floor flatness checked with a 10-foot straightedge; no deflection beyond spec; rough openings square and plumb | Builder + inspector |
| Rough-in (MEP) | Pre-drywall | Plumbing pressure test, drain slope, electrical panel schedule and circuit labeling, HVAC duct sizing and sealing, low-voltage and smart-home conduit | Pressure test holds for the specified duration; every circuit labeled; duct leakage tested where specified | Trade lead + builder + owner's rep |
| Enclosure and waterproofing | Pre-finish | Window and door flashing, membrane continuity, flood test in wet areas, roof underlayment | Flood test holds 24 hours with no loss; flashing lapped per manufacturer; no penetrations unsealed | Builder + owner |
| Drywall and substrates | Pre-finish | Screw pattern, corner bead, level 5 finish where specified, substrate flatness for stone and large-format tile | Substrate flatness within tolerance for the finish; no visible seams under raking light | Builder |
| Finishes and millwork | Pre-punch | Cabinet alignment and reveal, stone slab matching and seam placement, tile lippage, paint and stain consistency, hardware alignment | Reveals consistent; lippage within agreed tolerance; slab veining continuous across seams | Builder + owner |
| Commissioning and final | Pre-closeout | HVAC balancing, smart-home system integration, plumbing fixture operation, appliance startup, window and door operation | Systems tested and documented; balancing report delivered; every fixture operated in front of the owner | All parties |
Step 4: Hold Work to Luxury Home Craftsmanship Standards
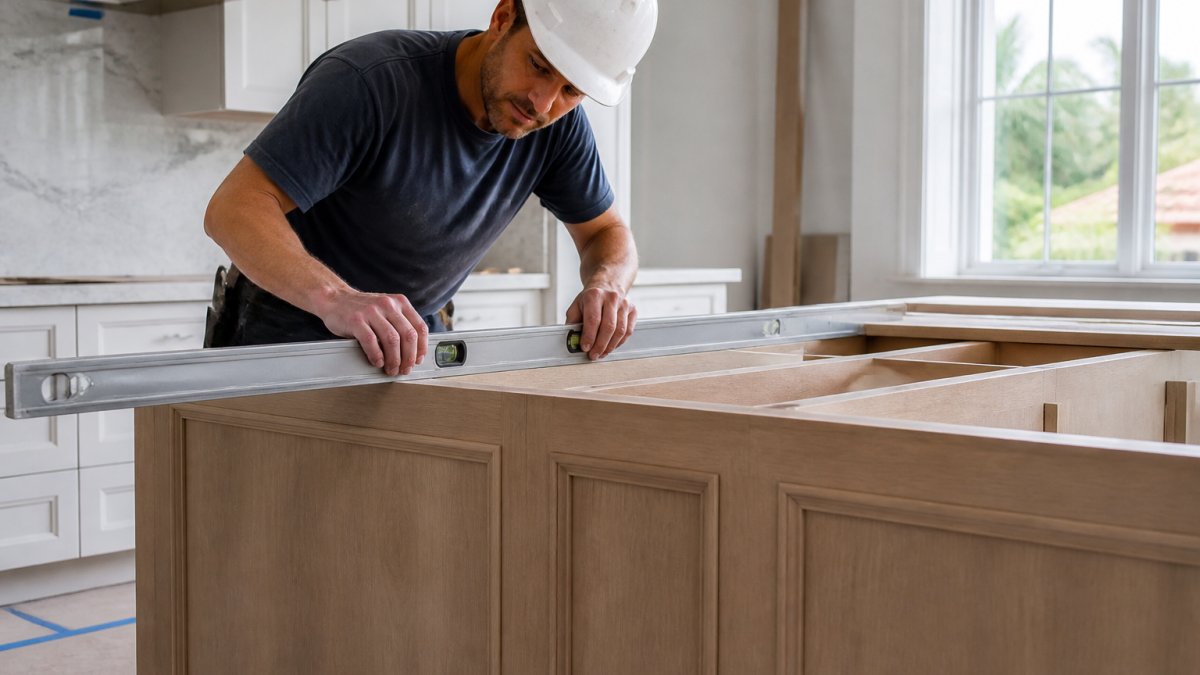
Luxury home craftsmanship standards are measurable, not poetic. Browse before & after photos from luxury home remodeling projects to see the standard in practice. Alignment, reveal, and finish consistency get a number, and the number gets checked.
Step 5: Grade Defects and Set Acceptance Standards
-
Tile lippage: the height difference between adjacent tile edges, checked with a straightedge and specified in the tile manufacturer's installation guide.
-
Cabinet and millwork reveals: the consistent gap between doors and frames, checked with a feeler gauge.
-
Substrate flatness: the variation in a floor or wall before stone or large-format tile goes down, checked with a 10-foot straightedge.
-
Paint and stain consistency: sheen and color uniformity checked under raking light, not just overhead light.
-
Window and door operation: smooth operation, consistent reveal, and no air or water infiltration under test.
-
Critical (stop work): safety, structural, or water-intrusion risk. Examples: missing flashing at a window head, a structural connection that does not match the drawings, a gas line that fails a pressure test. Work in the affected area stops until the defect is corrected and re-inspected. No exceptions, no schedule negotiation.
-
Major (fix before next stage): a visible failure of finish or function that will be hidden or compounded by the next stage. Examples: a warped cabinet frame before doors go on, a drain slope that will not shed water, a misaligned rough opening before the window is set. Fix before the next hold point.
-
Minor (punch list): cosmetic wear or variance within the agreed tolerance. Examples: a hairline paint crack, a scuff on a baseboard, a slightly uneven grout line. Log it and address at punch list.
-
Observation (monitor): a condition that is not a defect today but could become one. Examples: a hairline crack in a slab that is stable, a door that sticks slightly in humid weather. Record it, photograph it, and re-check at closeout.
- Log the defect with a photo, location, date, and the tolerance or spec it violates.
- Grade it using the four tiers above.
- Assign an owner and a correction deadline.
- Verify the correction against the same tolerance, not against a verbal assurance.
- Close the item with a sign-off and a photo of the corrected condition.
One more distinction matters on luxury builds: water intrusion is always critical, even when it looks minor. A window that leaks during a storm test, a shower pan that loses water overnight, or a roof penetration that shows staining is a stop-work item because the damage it causes is hidden and cumulative. The U.S. Department of Energy guidance on window performance explains why installation quality decides whether a rated window actually performs, a correctly rated window installed with failed flashing will still leak.
Step 6: Close the Project With a Construction Punch List
Walk the home room by room with your builder. You can also read real stories from real homeowners to corroborate the quality claims before signing off on the work. Before you audit the builder's quality and documentation, review the signs of a bad general contractor so you know what red flags to look for. Photograph each item. Assign a fix date. Then re-walk it and sign off item by item. A punch list that gets signed without a re-walk is just a wish list.
Step 7: Request a Third-Party Quality Review and Documentation File
Dimensions Luxury Builders brings licensed and insured Florida contracting, end-to-end project management with one point of contact, and a focus on bespoke craftsmanship to every Broward County home we touch. Get started with Dimensions Luxury Builders.
Frequently Asked Questions
How do you measure construction quality on a luxury home?
Measure it against the project specifications, not against how the house looks on reveal day. That means documented checks at each stage: foundation and framing tolerances, waterproofing tests, impact window installation per manufacturer instructions, and finish tolerances for tile, trim, and millwork. Each check gets recorded with photos and sign-off. A written construction quality control checklist turns quality into something you can verify rather than something you have to take on trust.
At what stages of home construction should quality be checked?
Check at every stage, with the most critical ones being foundation and slab, framing and structural connections, rough-in plumbing and electrical before walls close, waterproofing and window installation, and final finishes. Pre-cover inspections matter most because defects hidden behind drywall or tile cost far more to fix later. A stage-by-stage checklist for a luxury home construction project usually runs eight to twelve checkpoints from pre-construction through the final walkthrough.
What should a homeowner do if construction work fails an inspection?
Get the failure in writing, including the specific code or specification that was not met, and require a written corrective action plan with a completion date before work continues. Do not accept a verbal promise that it will be handled. Document the defect with photos, keep it on the construction punch list until it is closed, and confirm the fix was re-inspected. For structural, waterproofing, or life-safety items, ask for an independent third-party assessment before signing off.
What is a construction punch list and when should it be created?
A punch list is the written record of incomplete or defective work found near the end of a project, itemized so nothing gets forgotten before final payment. On a luxury home construction project, start it earlier than the final walkthrough, ideally at the pre-drywall stage, and keep adding to it as rooms finish. Each item should note the location, the defect, the responsible trade, and the date closed. Final payment should be tied to a cleared punch list, not a promise to return.